
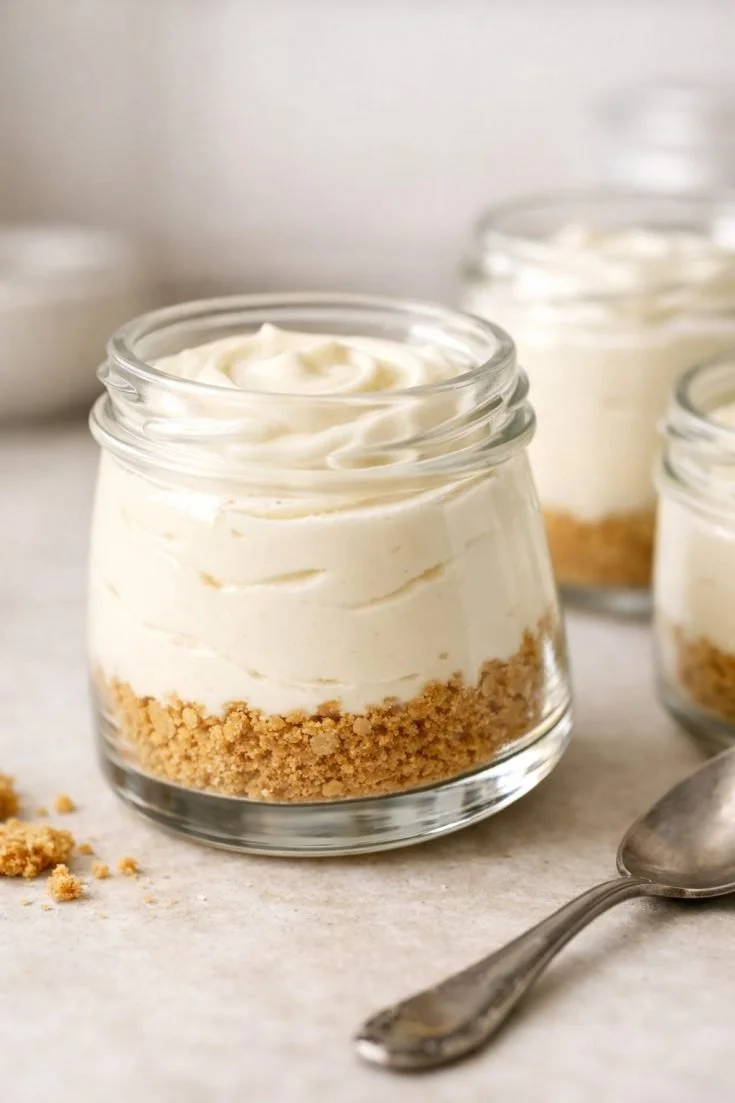
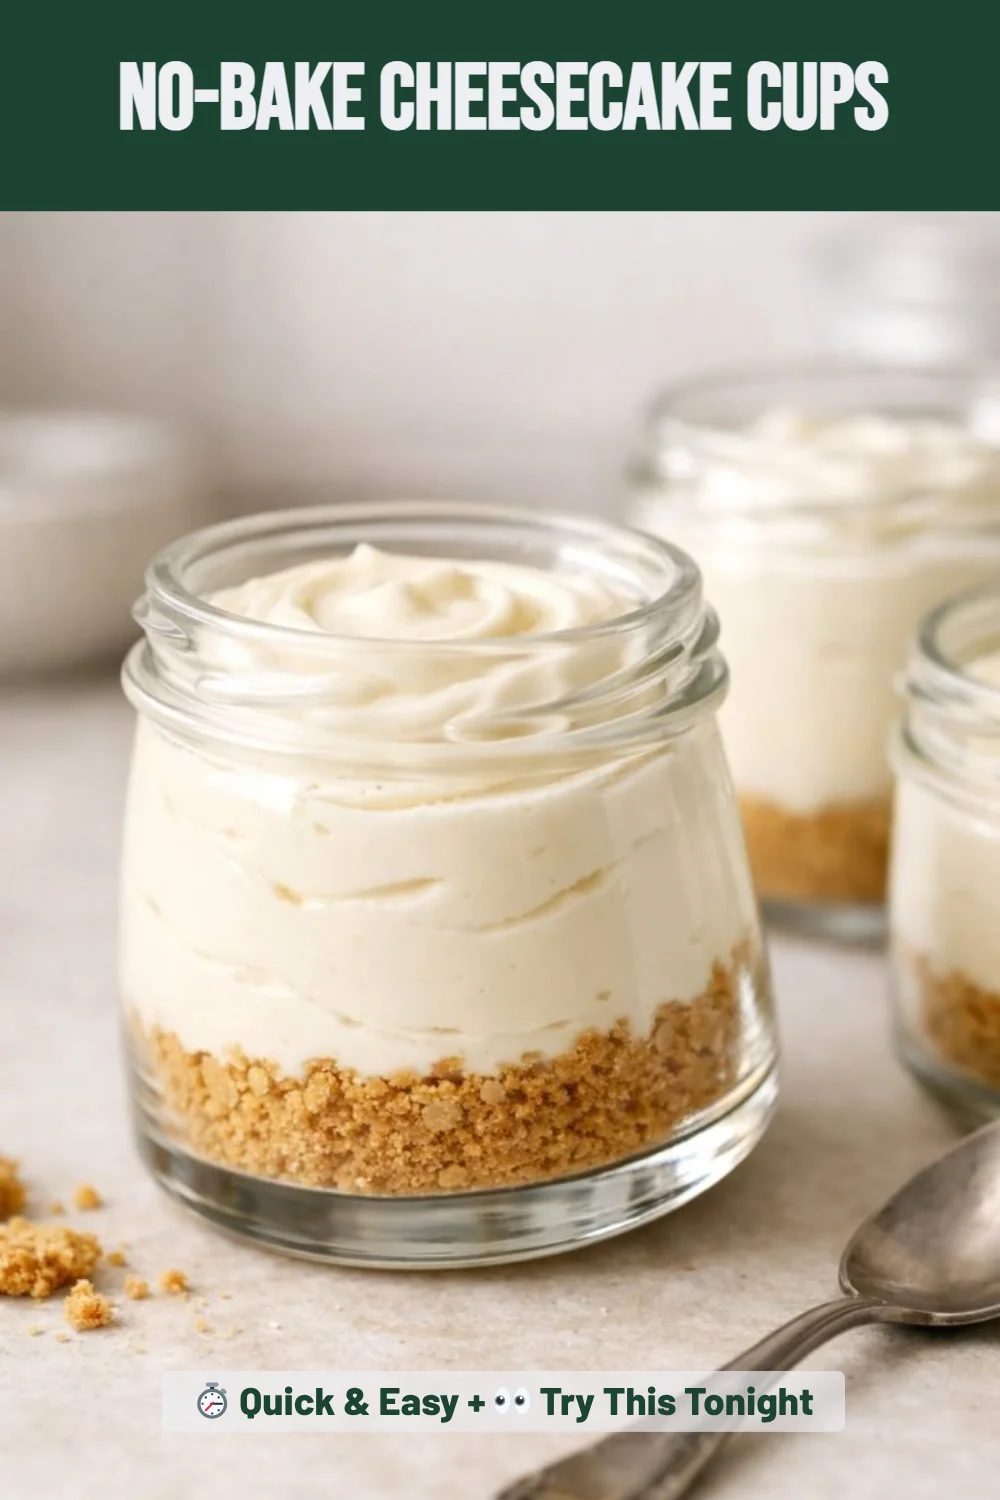
The smooth and creamy texture of a no-bake cheesecake cup delights the palate and creates a moment of indulgence. This No-Bake Cheesecake Cups recipe is effortless, taking just about 15 minutes to prepare before a chilling period. It works beautifully because there’s no baking required, allowing the flavors to meld while saving time.
These delightful dessert cups are perfect for gatherings, picnics, or simply when you crave something sweet. You can prepare them in advance; just make sure to store them in the fridge until ready to serve.
Why You’ll Love This Recipe
- The creamy filling provides a rich, decadent texture that melts in your mouth.
- With no baking required, it’s a quick and easy dessert option.
- It can be made ahead of time, making entertaining a breeze.
- Each layer offers a delightful crunch from the graham cracker base.
What You’ll Need
Gather the following ingredients to create your cheesecake cups.
For the Crust
- 1 cup crushed graham crackers or cookies
- 2 tbsp melted butter
For the Filling
- 8 oz cream cheese, softened
- 1/2 cup heavy whipping cream
- 1/3 cup granulated sugar
- 1 tsp vanilla extract
Use any cookies for a different flavor.
Substitutions & Swaps
- Cream cheese: mascarpone for a different flavor
- Heavy whipping cream: coconut cream for a dairy-free option
- Granulated sugar: honey or maple syrup for natural sweetness
- Graham crackers: digestive biscuits for an alternative base
How to Make It
Follow these simple steps to whip up your cheesecake cups.
1. Mix the crust
Combine crushed graham crackers with melted butter. Divide the mixture evenly between serving cups, pressing it down gently to form the base.
2. Beat the cream cheese
In a bowl, use an electric mixer to beat the cream cheese until smooth and creamy. Make sure there are no lumps for the best texture.
3. Add sugar and vanilla
Sprinkle in the granulated sugar and pour the vanilla extract into the cream cheese. Mix until everything is well combined and creamy.
4. Whip the cream
In a separate bowl, pour in the heavy whipping cream. Beat it with an electric mixer until stiff peaks form, which usually takes about 2-3 minutes.
5. Fold in the whipped cream
Gently fold the whipped cream into the cream cheese mixture, ensuring you maintain the light and airy texture.
6. Spoon the filling
Spoon the cheesecake filling over the crust in each serving cup. Smooth the tops with a spatula for a polished look.
7. Chill
Place the cups in the refrigerator and chill for at least 1 hour before serving to allow the flavors to meld.
How to Store It
Fridge: 3-4 days in an airtight container
Freezer: No, texture will change if frozen
Reheat: Not applicable; serve chilled
Tips for Best Results
- Ensure the cream cheese is fully softened for a smooth mixture.
- Use a tight-fitting lid to cover while chilling for best texture.
- Experiment with flavored extracts like almond or lemon for a twist.
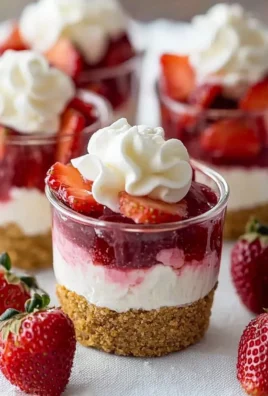
- Top with fresh fruit just before serving for added freshness.
Serving Suggestions
- Pair with fresh berries for a burst of flavor.
- Serve alongside coffee or tea for a delightful afternoon treat.
- Use them as a light dessert after a heavy meal.

Leave a Comment